Everyone says it’s difficult. I remember it being hard to make at school. Even chefs say to buy it – that it’s not worth the effort. Well, after experimenting with a few different methods I can safely say it is not hard and it is worth the effort. Even if just to make you feel smug and a little bit wonderful.
Are you game? Come on…
This makes loads and loads of puff pastry but frankly, it takes a little time so there’s sod all point in making a small amount. Make loads and freeze in blocks. Defrost in the fridge overnight and use as normal. Puff pastry on tap! Loads by the way means enough to cover 4 family size pies.
Ingredients:
- 500g plain flour
- 3g salt (Normal stuff, not flakes of sea salt.)
- 500g unsalted butter at room temp. Unsalted is important here as you need to control how much salt goes into the pastry. Room temp is also important.
- 1 teaspoon of white wine vinegar
- 300ml very cold water (I keep a bottle filled with tap water in my fridge door for pastry purposes.)
WARNING 1 – you need some time in the house to make this. Not huge amounts of hands on time but a fair amount of time to faff about.
WARNING 2 – there are a hell of a lot of stages to the instructions. I am over explaining everything. It’s not as bad as it looks. Honest.
1) Weigh the flour and then remove a small handful. Pop it in a bowl. Sieve the rest of the flour into a large bowl (bowl 1), then sieve the salt in on top of it.
2) Take another bowl and sieve the contents of bowl 1 into it. Then do the same again so that the flour and salt ends up back in the original bowl and has been sieved 3 times in total. This is important. Don’t be lazy and not bother.
3) Weigh the butter and remove 50g of it. Rub this into the flour and salt mixture very finely so that you have a breadcrumb type mixture. Do this by hand. It gets better results.
4) Add the white wine vinegar to the flour mixture and half of the icy water, then take a normal knife and add start to cut the wet into the dry.
5) Keep adding a trickle of the remaining water at a time and cutting the mixture. DO NOT dump all the water in! You need to add just enough water to make the pastry come together. The amount will vary dependant on the weather, how humid your kitchen is etc. I have dumped the lot in before and the pastry was too sticky meaning less puffy puff pastry.
6) Once it is all coming together nicely and looks smooth put it into a freezer bag, squeeze all the air from it, tie in a loose not and put in the fridge to rest. It can stay in here overnight if you want to start yourself off the night before.
7) Take a piece of greaseproof paper and cut to just larger than the size of a closed magazine. Then cut another piece exactly the same size. Next, take the butter you have set aside and slice the lot into pieces about 1.5cm thick. Then start to arrange these on the greaseproof paper, side by side, as close as possible, leaving a 3cm lip free of butter all the way round. In effect, a block of butter should emerge just smaller than the magazine.
8) Now this is my own method and I’m sure any chef type person would choke at this – using your hands, press the butter pieces into each other. The aim is to get a magazine size block of butter without any spaces. One large flat piece. The warmth of your hands helps to push the butter together and solder it. Don’t worry about being heavy handed.
9) Put the other piece of greaseproof paper on the top and flip you butter sheet over to check the other side for gaps between the butter. If you see any butter use your thumbs and palms to push the it together – through the greaseproof paper this time though.
10) Take a rolling pin and lightly roll over the top of the greaseproof paper to get the butter block the same thickness at all points. Now put the block in the fridge for 20 minutes. Beware – 20 mins only. Any longer and your butter is too cold to roll easily and it’ll break through the pastry.
11) Using the flour you set aside earlier, dust the worktop you plan to roll on. Take the pastry from the fridge and with a well floured rolling pin, roll into the shape of a magazine. It MUST be that shape. You need sharp edges. It’s fine to use your hands to manipulate the pastry.
12) Take your butter block from the fridge (20 minutes only I hope otherwise you’re buggered…) and place on top of the pastry. There should be a 3cm lip of pastry on all sides. Now fold the butter and pastry in half and seal the three sides that have a lip of pastry by pushing them down firmly with your fingers. You should not be able to see any butter. Essentially you have a ‘butter present’ wrapped in pastry in front of you. Turn the pastry so that the end without the pastry lip is facing furthest away from you.
13) Take your rolling pin, making sure there’s enough flour to stop any sticking and press down on the pastry edge nearest to you, use enough pressure to get the pastry to a thickness of about 0.3cm and then with your hands wrapped around the rolling pin so that your knuckles are on the worktop, keep pressing and roll away from yourself slowly and firmly. You might need to stand almost over the pastry to use your weight to press the pastry block evenly.
14) Do not use a backwards and forwards rolling method. Reason – you’re more likely to end up with butter split through the pastry.
15) Once you have rolled the pastry to three times the length of the original size (if your work top is too short for this, like mine is, then fold the pastry nearest to you, that’s already rolled, into soft folds as you go) you’ve done the hard bit. From now on it’s plain sailing. Make sure the shape you’re left with has proper corners and straight lines. If it doesn’t then cheat and take a knife to it. You need it to have straight lines and edges. The puffiness of the pastry depends on it.
16) Take the long piece of pastry and lay it length ways in front of you so you have a long strip, then mentally cut it into thirds and then for real this time, fold the right hand side to where the first third ends and the left hand side all the way to the ‘new’ right hand side. Then you have a block of pastry that has three layers.
17) You now need to repeat stages 13, 14, 15 and 16 again. Then wrap your pastry in a new and clean freezer bag, gently squeeze the air from it and place in the fridge to rest for 30 mins.
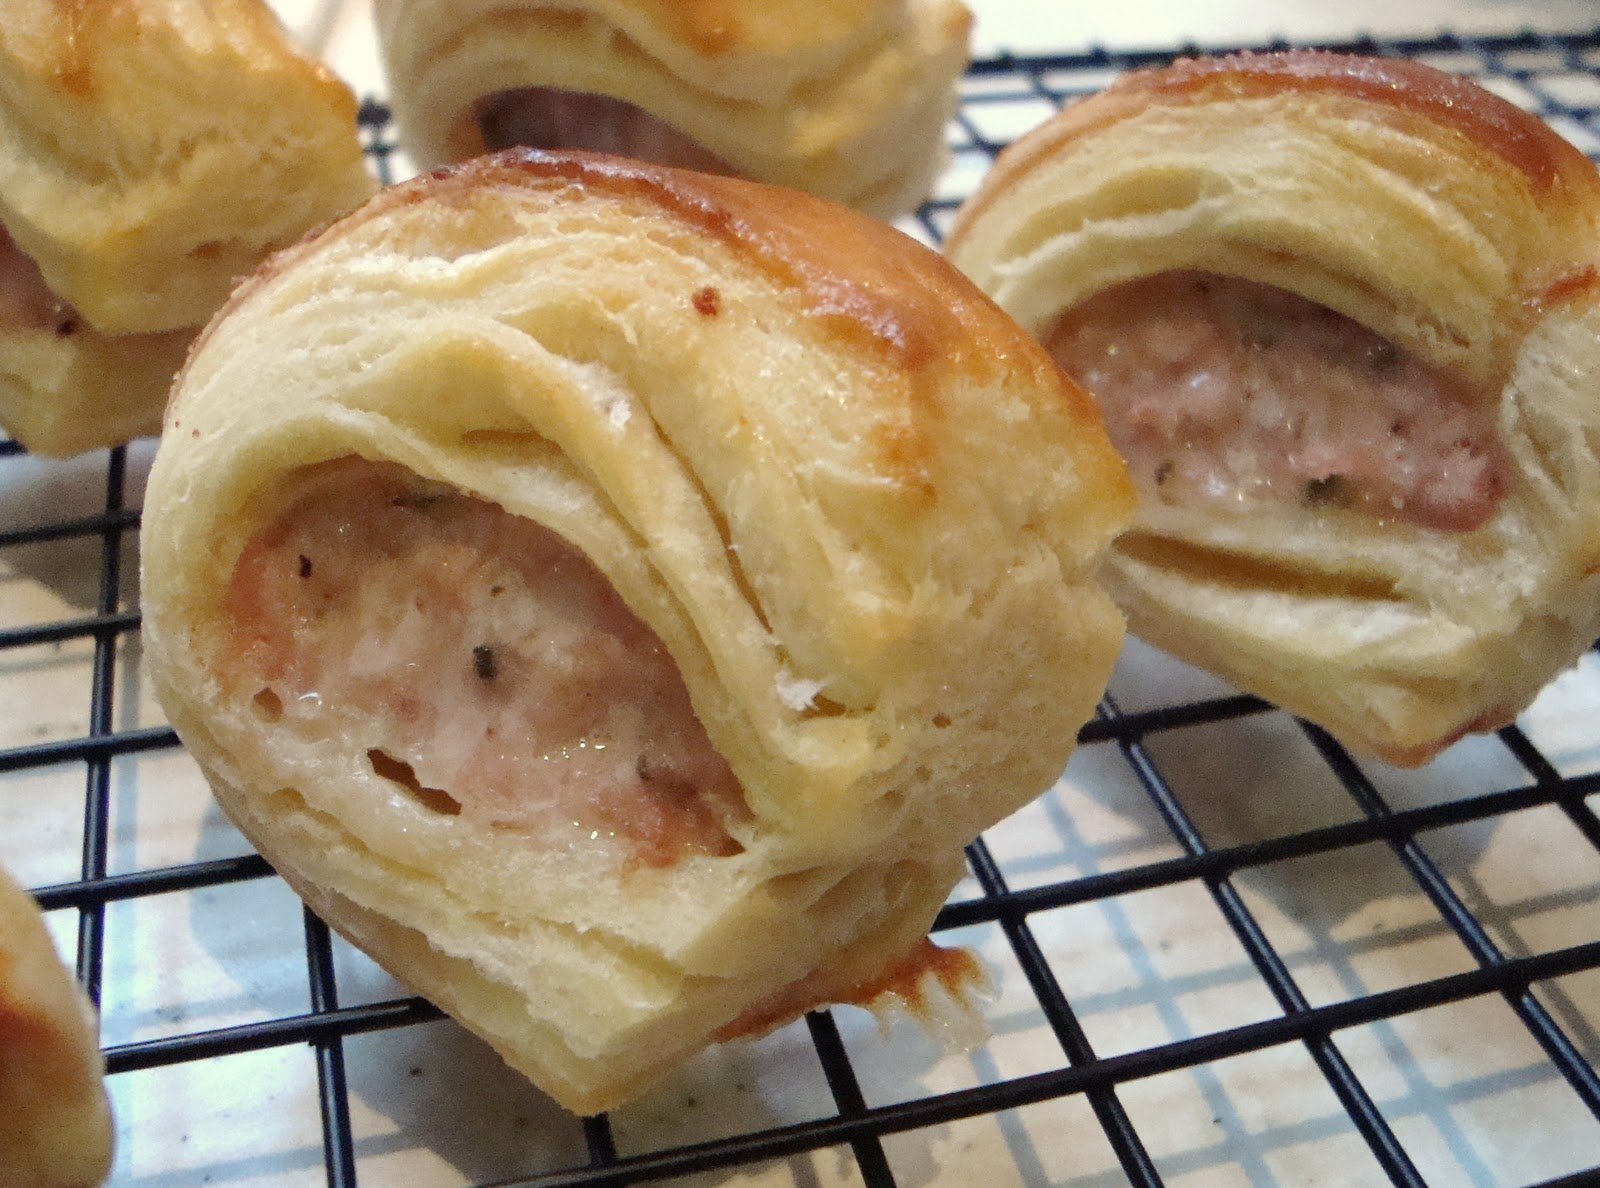
18) Get the pastry out of the fridge and repeat stages 13, 14, 15 and 16 again twice. Pop back in the fridge and you’re done. Either use the lot in one go to make a million sausage rolls or cut into 4 pieces and freeze separately.
THINGS TO REMEMBER:
- Bits of puff pastry you don’t use in your recipe from the final roll can’t be rolled up and re-used. Well, they can, but they won’t puff.
- Egg wash (egg lightly whisked with a fork with a pinch of salt to break down the strands of white) brushed over the top of your pastry makes for a golden creosote finish. However, don’t be a sloppy washer – if you get egg wash down the sides of your puff then it won’t rise properly.
- For best results bake anything with puff pastry at a high temperature (Gas 7 works for me) and at the top of the oven or the middle depending on what else you’re cooking.
- Quit opening the door to check the puff. Leave it to do magical things without an audience. You might get frightened when you see it looking all diaphanous and beige before it reaches for the sky. I almost cried when I saw the state of it mid bake.
- If you want to ring the changes you can use sour cream instead of water. The puff isn’t as puffy and the taste is denser. Eat straight away. Nice for savoury pies though.




 Holly Bell