
I’ve just come back from Paris where I spent a weekend knee deep in cream, pastry, animal fat and fizzy water. I imagined a parallel life where I listened to Mr McDermott in French lessons and could order with a flourish and an accent that impressed my French friends. Instead I was the ungainly British woman stuffing cream cakes in my mouth, holding my pregnant belly (just to be clear that my rotund appearance has NOTHING to do with a penchant for cake) and consulting my phrase book at minute intervals.
We had a whale of a time and made plans for buying a £1.2m apartment in the 7th. We haven’t worked out how we’ll gain this cash injection, nor how the kids will get to school daily in the Midlands. I’ll let you know when we work it out, but in the meantime here’s a very British sounding sweet treat. I give you chocolate orange tea buns.
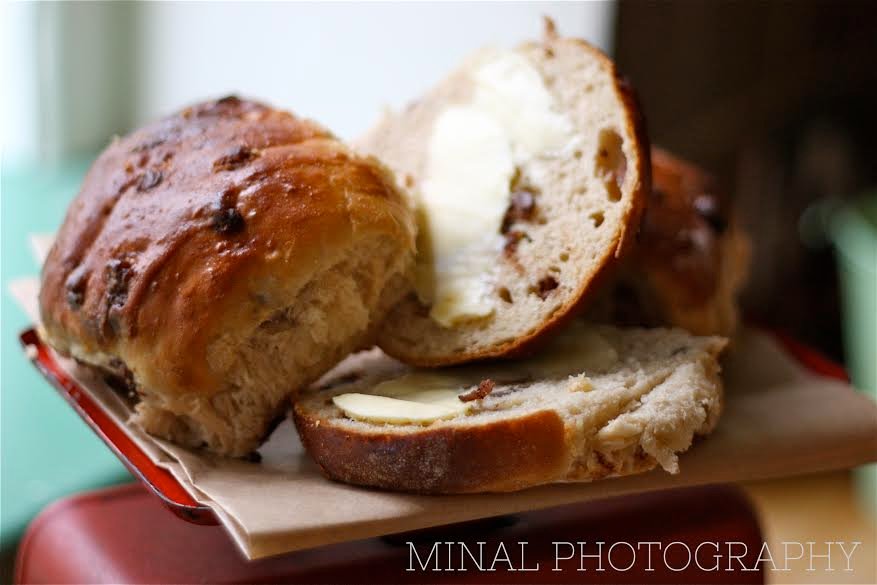
NB: Gorgeous pic, clearly not taken by me, was in fact taken by my pal Minal, photographer and all round good egg.
Orangey recipes: Orange rubble cake and Orange butter biscuits and Chocolate, hazelnut and orange wrinkly biscuits and Orange eyeball truffles
One year ago: Love cupcakes and White chocolate, lemon and macadamia cake and Roasted celeriac, carrot and parsnip soupand My lightest Yorkshire puddings
Two years ago: Bake me not chocolate cake and Jelly and ice-cream meringue roulade and Good flapjackand Banana, butterscotch and fig traybake
Three years ago: Treasure hunt ice-cream and Rhubarb and ginger chutney and Carrot cake
Chocolate orange tea buns
Made 9 for me
Ingredients:
- 500g strong white flour
- 7g sachet fast action dried yeast
- 7g salt
- 15g olive oil
- 50g caster sugar
- 1 large egg
- 350mls warm, body temperature, milk
- 100g dark chocolate chips
- 100g white chocolate chips
- Zest of 1 orange
- Egg wash made from an egg with a pinch of salt stirred in
Mix together the flour, yeast, salt, olive oil and caster sugar until everything is evenly distributed. Then add the warm milk and mix again. Then add the egg, beaten and mix again. Now you need to knead until shiny and elastic – probably about 10 minutes by hand or about 4 in a mixer. I used my Kitchen Aid stand mixer as this is a VERY sticky dough – it’s enriched with milk and eggs which mean it’s hard work by hand. It isn’t impossible but I am just warning you. A dough scraper might be useful if you do do this by hand. And remove all rings.
Once shiny and elastic (but still sticky) cover in clingfilm and leave to double in size – this took about an hour for me but the warmer the kitchen the shorter the rise, basically keep an eye on it. Once doubled add the chocolate chips and zest. Mix well whilst knocking back the dough then scrape onto a floured work surface and divide the dough into as many pieces as you wish to make buns. I went for 9 but remember, the more you make, the smaller the tea cakes and the shorter the baking time.
Flour a baking tray lightly and then take your piece of dough, dip it in a little of the flour on the work surface so it doesn’t stick to your hands – then squash it in your hand and pull the edges into the middle, like you’re folding something exciting into the centre. Pinch these edges together and then place the bun pinched side down on the tray, flatten gently. Continue until all the dough is used and leave about a 1cm space between each bun. Cover loosely in clingfilm and leave to prove until double the size. This took about 40 minutes in my cold kitchen but if yours of warmer it may take a shorter time.
Preheat the oven to 200C/Gas 6. Brush each tea cake with the egg wash then pop into the preheated oven and bake for about 20 minutes but keep an eye on them as enriched doughs, especially ones with sugar in, have a tendency to burn easily. Also your buns might be bigger or smaller than mine so will likely have a different baking time. They’re done when browned and risen.
Cool on a wire rack and enjoy warm (mmmm, melted white chocolate chips? Yes please!) or toasted or even just cold for breakfast with a nice cup of tea.

Get the monthly newsletter...
and subscribe to get all recipes straight to your inbox!