
There are some things in life that take a while to get right. They’re often the kind of things that are worth it. Finding a good husband springs to mind. Chasing down the perfect pair of flat black knee high boots. Achieving the perfect eyebrow shape. Teaching your young son to aim well – both in and out of the bathroom.
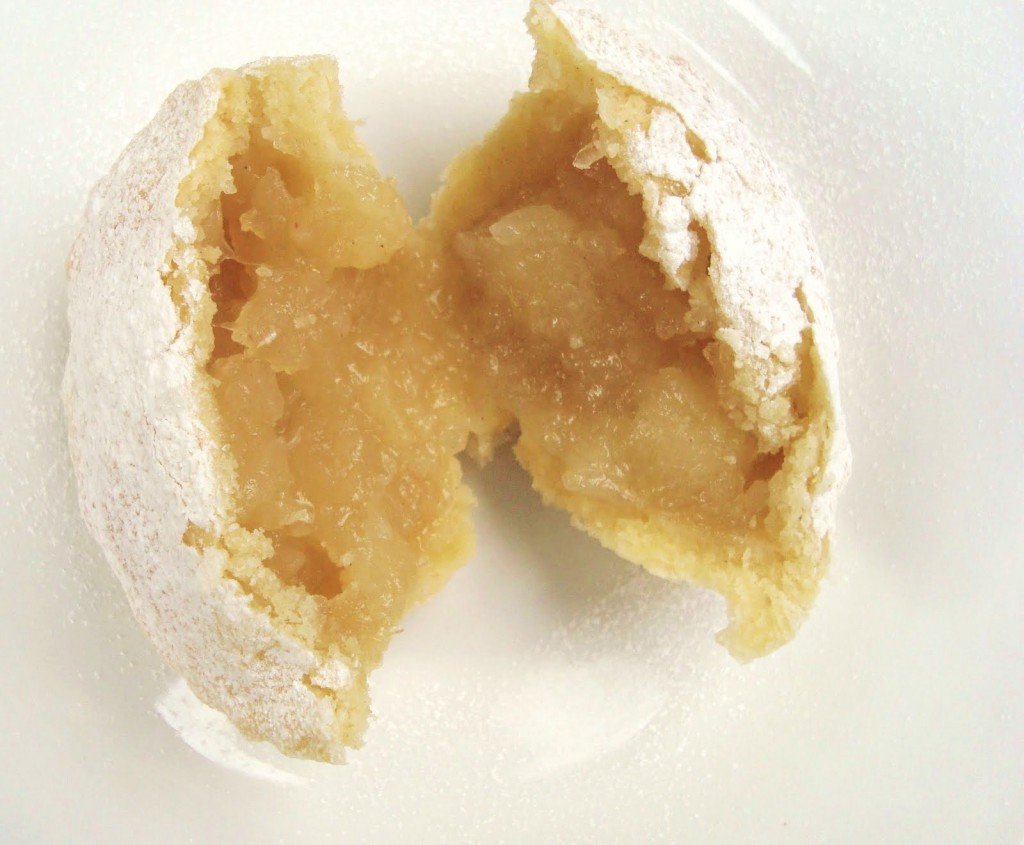
All these things will help towards happiness, however, to experience true and unadulterated joy you need to make and eat the perfect apple pie. But it’s going to take time. These little buggers are a labour of love, in that they take a while to make. They’re not difficult, just laborious. Are you game? Tender, sweet crumb pastry with just a hint of almond, apples still tart with a little bite (but not too much) and a sweet bumble bee hit of honey. What’s not to like? Here’s how:
Makes 12.
Ingredients:
For the filling:
- 4 large cooking apples, peeled, cored and chopped into thumb nail pieces (total 583g using my grandmother’s apples)
- 15mls lemon juice
- 60mls honey
- a tiny smidgen of mixed spice.
- 1 tbsp cornflour mixed into 1 tbsp boiling water
For the pastry:
- 250g plain flour
- 50g icing sugar (plus about another 50g for rolling later on)
- 50g ground almonds
- 150g unsalted very cold butter cut into 1cm cubes
- 2 large eggs
Best to start these off in the morning. There are a lot of steps. Pies can be a bit high maintenance like that.
Breakfast time:
Step 1. Take the bits of apple and toss in the lemon juice. I use my hands to get them well covered. Then place in a saucepan (that has a fitted lid) and add the honey and mixed spice. Stir then pop the lid on the saucepan and stew over a low heat for about 7 – 10 minutes until the apples are soft and are starting to break up. What you’re looking for are some chunks left but the rest like purée. So keep an eye on the apples and stir if you feel the need. No vigorous beating or you’ll be left with mush. Then take them off the heat and add the cornflour pre mixed with boiling water. Stir well and pour into a bowl. Cover and refrigerate.
Step 2. Next make the pastry. Put the flour, icing sugar and almonds in a bowl and mix with your hands. Then add the very cold cubes of butter and rub in until you have a fine breadcrumb like mixture. If the butter isn’t cold you’ll get a squidgy mess. Then crack the eggs into the bowl, on top of the bread crumb mixture. Use a blunt knife to stir the yolks up into the whites then stir the whole lot together until you have a sticky pastry like mess. The pastry will seem stickier than regular pastry. Don’t worry. Take a sheet of clingfilm and scoop the lot up into a blob and place in the middle. Squash into a flat round shape, wrap well and place in the fridge. Then leave for a minimum of 2 hours. Don’t attempt to roll it before then. It will just stick to everything and be a nightmare. It needs to firm up and rest.
Lunchtime:
Step 3. Once your pastry has suitably relaxed in the fridge you need to roll it out onto a work surface absolutely covered in icing sugar. A good thick dredging is what’s required. Place your unwrapped pastry into the middle and cover again with icing sugar. Then roll out until the pastry is about 3mm thick. Take a cutter and punch out 12 rounds for the base of your tin and 12 rounds for the tops. Only you know the dimensions you need as it’s all dependent on your tin. You can re roll any off cuts without fear of tough as old boots pastry by the way.
As an aside: About tins – I use this tart tin which I actually got from Lakeland not that long ago for not much money. It’s an amazing tin. Nothing sticks to it. I don’t even grease it. If the thought of gingerly teasing pastry from a tin makes you feel irritable then invest.
Step 4. Take a teacup and fill with cold water. Place next to your tart tin. Place the bigger rounds of pastry into the tart pan and push down gently. Then put a good tablespoon of apple sauce mixture into the middle. Be careful not to pile it up into a mound or when it steams in the oven the lids will pop off. I tell you this as someone who may have overfilled her apple pies from time to time. Then take the pastry lid, dip your finger into the water and wet all the way around the outside. Pop on top of the apple sauce filled pastry circles and press down around the edges with your fingertips. Then dredge the top of the lid with more icing sugar and pierce with a small, sharp knife. Repeat until all 12 are finished. Place in the fridge. Leave for another 2 hours to re-firm the pastry.
Dinner time:
Step 5. Preheat the oven to Gas 6. Make sure the rack is in the middle of the oven. Then bake for 40 minutes until golden brown and delicious looking. Cool a little in the tin. For maybe 10 minutes. Then carefully use a knife and a spoon to lift onto a cooling rack. Cover with more icing sugar if you think tart apples need the edge taking off them. I’m not sure they do.
Step 6: Enjoy hot with ice cream or cold with warm custard. Or any which way you like.
NB: Please eat these on the day you made them or the day after. The pastry does not like to be kept for three days. It goes a bit soft. You could refresh in the oven though.

Get the monthly newsletter...
and subscribe to get all recipes straight to your inbox!